Tuesday, March 20, 2012

Nature Journaling


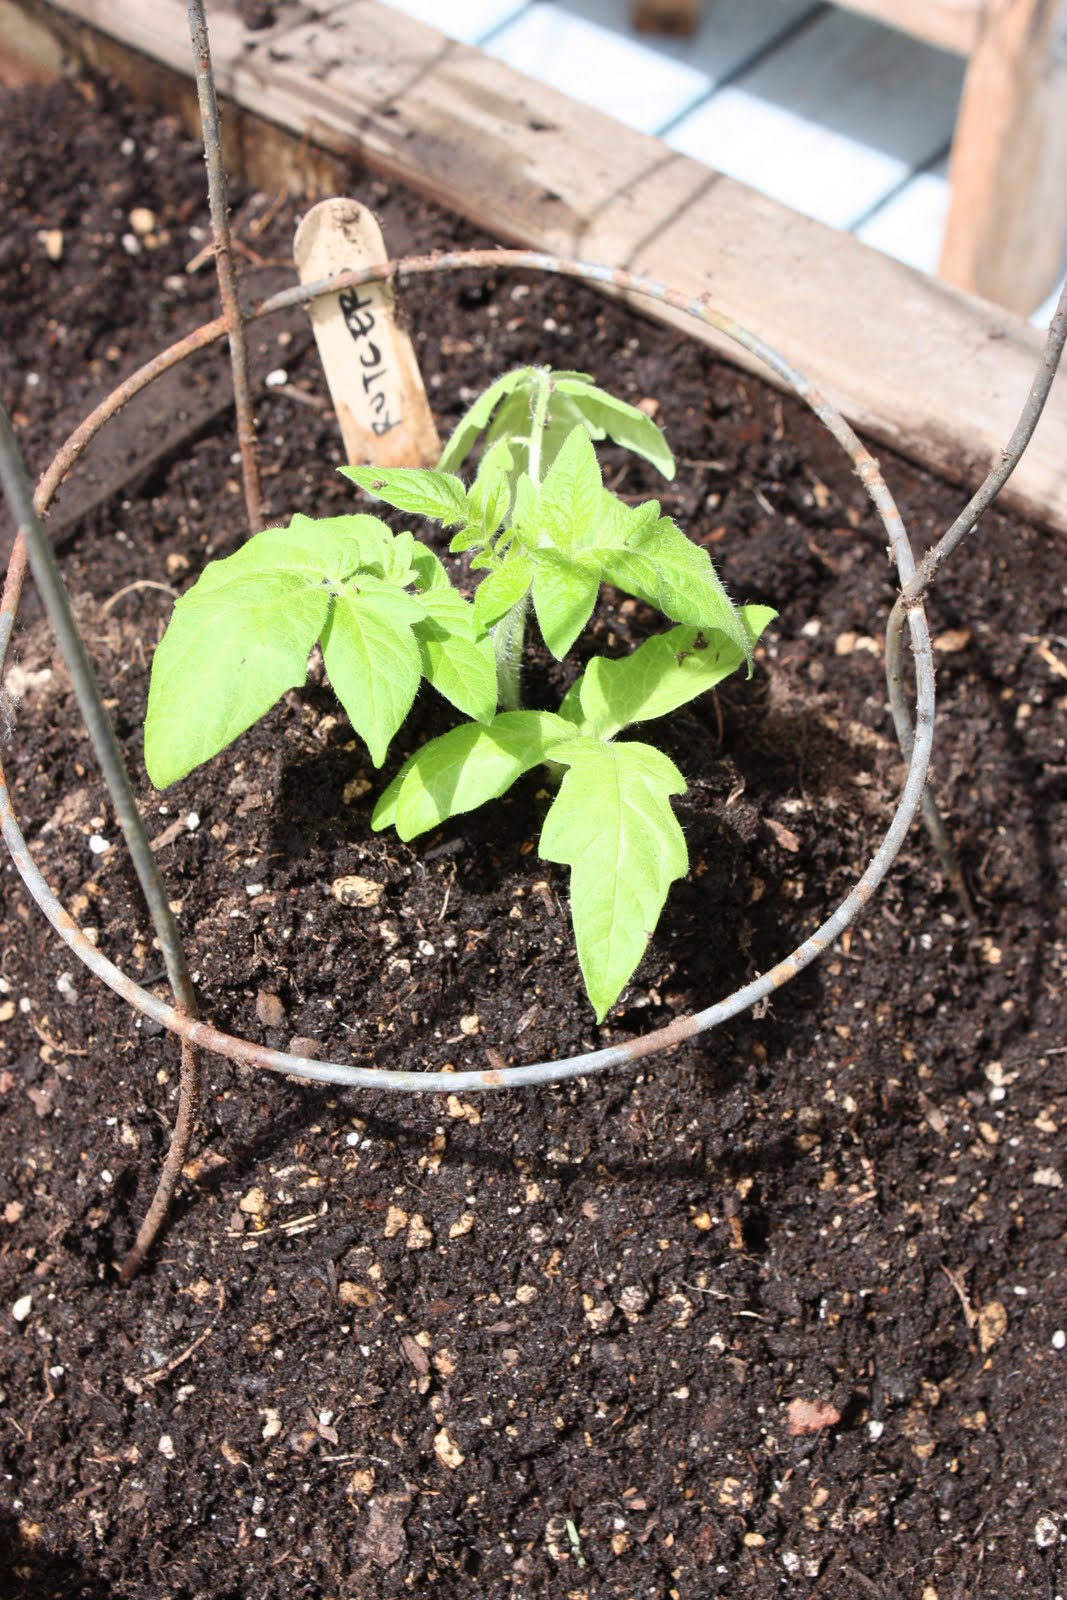
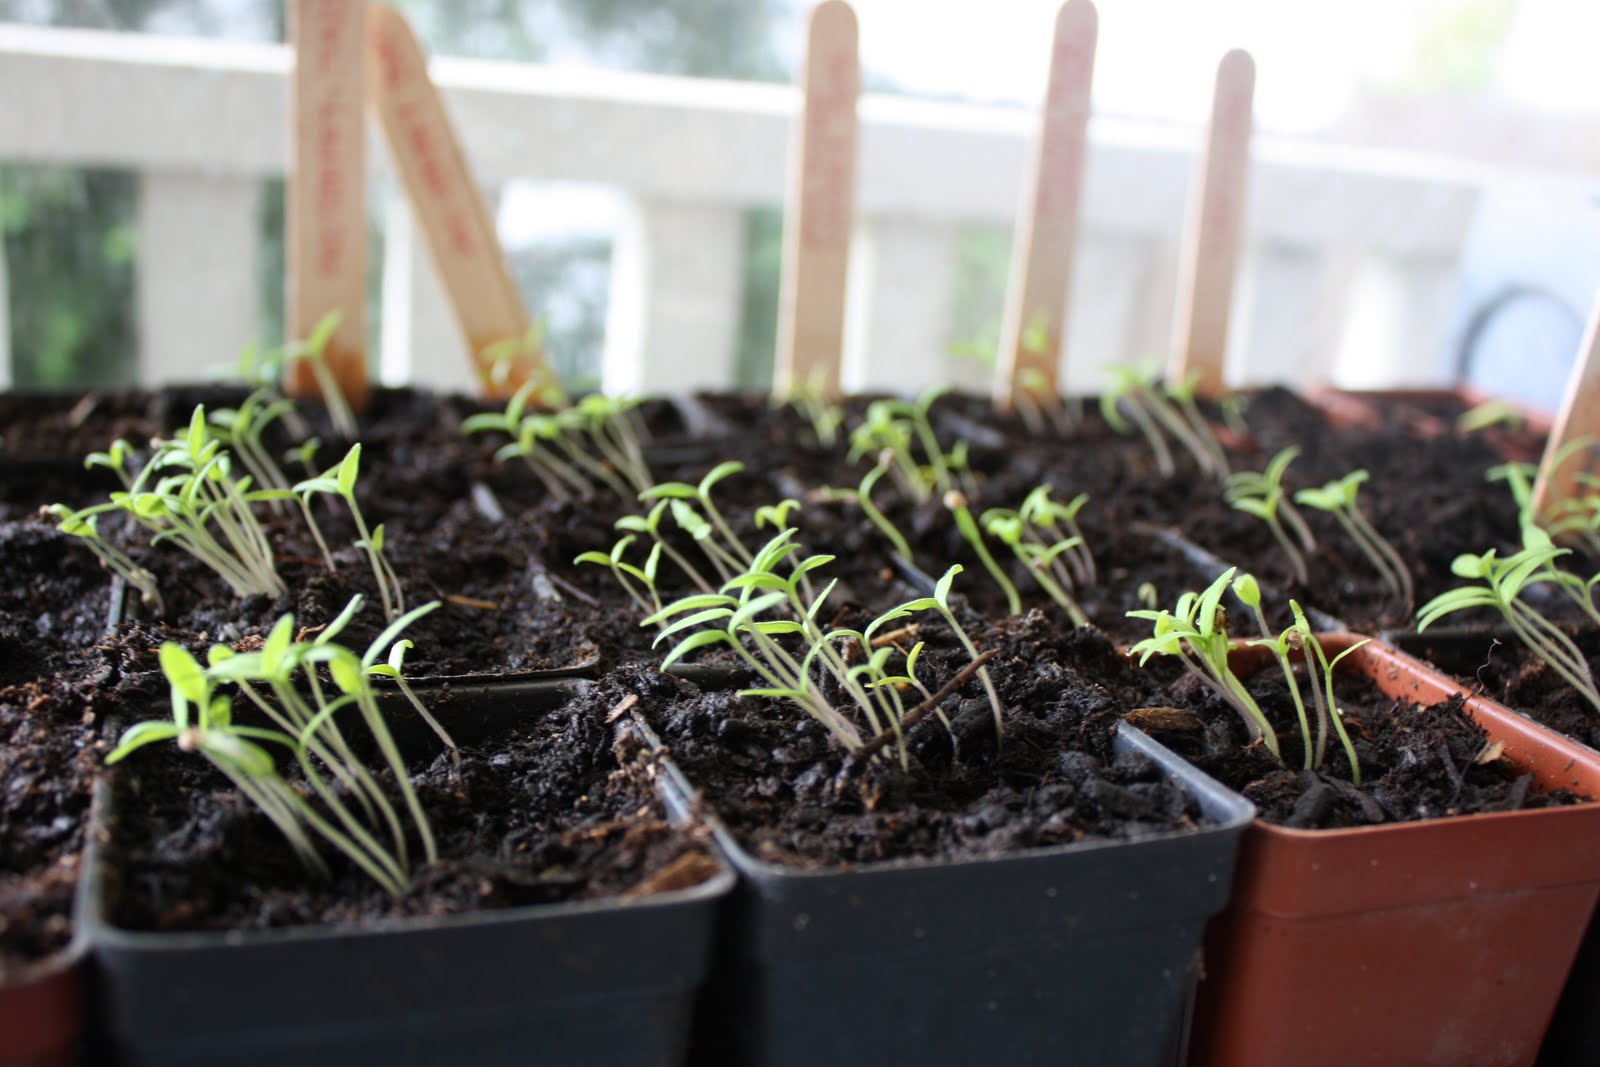
Backyard observations. :)

Saturday, February 25, 2012

Crochet Snowflake


A little Christmas in February...I've always wanted to learn to crochet snowflakes. Here's my first little guy drying out from the fabric stiffener. I love all the the multicolored pinheads, the symmetry, the tininess of it all. I found this pattern at marthastewart.com:

ch 8; join with sl st to form the foundation ring.

Rnd 1: ch 2 (counts as first sc), 17 sc into ring, join with sl st.

Rnd 2: ch 2 (counts as first sc), sc in each of next 2 sc, ch 2, *sc in each of next 3 sc, ch 2.* Repeat * to * 4 times more; join with sl st.

Rnd 3: ch 2, turn over and work in the opposite direction, 2 sc into hole (made by 2 chs on last rnd), ch 3, *3 sc into next hole, ch 3.* Repeat * to * 4 times more; join with sl st.

Rnd 4: ch 2 (counts as first sc), sc in each of next 2 sc, ch 6, sl st in 4th ch from hook, ch 2, *sc in each of next 3 sc, ch 6, sl st in 4th ch from hook, ch 2.* Repeat * to * 4 times more; join with sl st.

Rnd 5: *sl st in next sc, ch 6, sl st in 7th stitch from hook (same loop as before), sl st in next sc, ch 16, sl st in 8th ch from hook, **ch 8, sl st in 8th ch from hook (same loop as before).** Repeat ** to ** 2 times more, ch 6, sl st in first sc of next group of 3 sc.* Repeat * to * 5 times more; join with sl st. Finish off; weave in ends.

So then what? Draw yourself a template on cardboard, cover it with packing tape, soak your snowflake in fabric stiffener (available at the craft store) for 1 minute, pull it out with tweezers and pat dry between paper towels, pin it to your template and leave to dry overnight.


Friday, January 20, 2012

Felt Elephant


I used one of Lyla’s bigger stuffed animals as a guide to
worked out this pattern for a small felt friend. I just love this little
elephant and can’t wait to make one with better materials. This is just scrap
felt and string that I had available when the inspiration struck. He’s filled
with little plastic beads and fits in the palm of your hand like a bean bag.
Just too much fun! I’ll post again as this project develops!
..

Thursday, December 9, 2010

Flower Fairies


These flower fairies were the biggest hit at the craft fair. They are made from fake flower pedals, floral wire and embroidery floss. I had a lot of fun making each one original...every fairy has a unique dress and hairdo.


Christmas Craft Fair

Hip Hip Hooray! After a year of pretty intense crafting I'm relieved that the fair has come and gone. I am grateful for wonderfully supportive friends and family...especially for my husband who sacrificed while I put everything else in life aside to finish projects, and for my sister who took off work to help me run the booth. Thanks guys!

Wednesday, November 10, 2010

Rag Doll Project, Part V - Dresses

Before I start dressing the girls I couldn't pass up this opportunity for a rainbow picture. These dresses are only about 4 inches long. So cute!

Carved Wood Painting - Sneak Peak

A work in progress...just squeezing in a little craft fair painting between unloading the dishwasher and vacuuming the living room.

Tuesday, November 2, 2010

EGGS!

I just realized I forgot to mention...

...that Pearl has started laying! Well, she was laying. Now the weather has turned dark and cold and she's stopped altogether. We need to put a light out in the coop...and I need to do a little more research. I'm new at this.

Pearl's eggs are a little smaller than those from the grocery store, but she is brand new at it. The yolk is the same size though, interesting.

Here's our sweet pea eating her first plate of home grown scrambles.

Wednesday, October 27, 2010

Rag Doll Sneak Peak

I'm starting to see the light at the end of the tunnel. There is still A LOT to do to get these dolls ready for the craft fair, but it's great to see the pieces starting to come together!

Tuesday, September 28, 2010

Grandma's Bread Pans

My Grandma Thompson made amazing homemade white bread for her family for most of her life. She had a big hand-cranked metal bread kneader to do the job my handy Kitchen-Aid does today. I think of her every time my machine is whirling away.

If the grandkids were lucky enough to be around when she was baking the bread, she let us make our own loaf in these mini bread pans. I'm borrowing them from my sister who has them now that Grandma has passed on.

I love you Grandma and I LOVED YOUR HOMEMADE BREAD!!! I'm glad to carry on the tradition with my own family.

Colored Pencil Roll

I have finally COMPLETELY finished one of my craft fair projects. I decided it was time to stop jumping from project to project and follow through with one all the way to the end.

These colored pencil rolls are made for a set of 24 Crayola pencils. I saw a picture of one of these rolls in a book a few years ago and fell in love with the rainbow of colored fabrics. I spent hours in the fabric store matching the pencils to the perfect fabrics. What fun!!!


I have since run across the following link where you can get pattern info to make one for yourself if you want!

Monday, September 27, 2010

Business Cards

Dickens Fair, here I come. So, I'm really feeling the pressure of my approaching Christmas Craft Fair. I have A LOT of projects in the works, but I took a break to design and print my own business cards.

One side advertises this project blog...

...and the other side advertises my handcrafted goods.


I made business card stands out of wire using my jewelry-making tools.


I drew this flower and had it made into a stamp at a local printing shop. It was originally used for part of our wedding decorations, but I thought this would be a great opportunity to get it out again.


Monday, August 23, 2010

Pulley Clothesline

Our backyard now has one more useful addition.


Nick put up this pulley clothesline a few weeks ago. The laundry room door is right off this deck, so it's just a few steps to the line. There's a basket of clothespins there on the railing...I can stand right there and clip away...reeling the line out as I go. Another three cheers for an amazing husband.

The Great Tomato Project Continued

So far my tomato project has been a great success. Lyla loves to pick the red ones any chance she gets.
In my last tomato post I had just transplanted my starts into the planter...
...and the big plastic buckets from Albertsons.   
They've grown so thick that it is finally time that I get around to thinning them out. It's good to clip off a lot of the extra stems that don't have tomato buds for two reasons. 1. So the plant can focus all its energy on the fruit. AND 2. So the fruit can get the most sunlight possible.

This morning I spent a good while spacing out the pots, thinning out their branches, and giving them a good drink.
Keep coming tomatoes!

Tuesday, August 17, 2010

Rag Doll Project - Part IV, Tutu

I've been spending a lot of time on my rag dolls these days. I've had a great time designing and testing my own patterns for her accessories. Here's my latest creation:

This fun little tutu has been the easiest rag doll project so far.

It's really simple. Here are the steps:
1. I took a 7 inch cut of  tutu material (can't remember what it's called) and folded it in half lengthwise then again widthwise creating 4 layers.

2. I sewed a basting stitch across the raw edge, gathered in the fabric, then trimmed the raw edge to within 1/8 in of the stitching 

3. Next I measured a piece of bias tape to fit her waist and pinned the gathered tutu material into the fold.

4. Then stitched it all together, added snaps and voila...my little doll is ready to dance!

Friday, July 2, 2010

Quilt Mural

I saw this idea on someone else's blog, although I've adapted it to fit my own style. I've looked and looked for the original blog post that inspired me but can NOT find it anywhere...I wish I could give them credit!

So, there's a big empty wall in Lyla's room and ever since I saw the idea for a painted quilt mural I've been itching to try it. I started by measuring the wall, then drawing a rough sketch on graph paper. Then with a yard  stick, pencil and blue tape I managed to transfer the idea to the wall...


Then I seal the tape with the background color.


Here are my three darker shades of green...I just took the paint strip for the room color and order the next 3 shades on the strip.

Before painting the squares I planned out the color pattern by penciling a L, M, or D (Light, Medium, Dark) in each square. 

All painted and ready for the blue tape to be stripped!!!

Ta da!  
In this picture the overhead light is on...

Lights off...just the natural light from the window.

Monday, June 28, 2010

The Great Tomato Project

Several months ago I planted my first tomato seeds. They grew indoors for about 2 months and became quite gangly looking...
So I transferred them to milk jugs and moved them out to my little greenhouse on the porch.

Several of them have grown big and strong enough to move to their permanent homes.

I heard that you can get free frosting buckets (empty, of course) from the bakery at any grocery store...Albertsons was thrilled to get these off their hands. Great for patio planting!
I can't wait until the whole porch is filled with my homegrown tomatoes. I'm daydreaming of lots of garden-fresh tomatoes and jars of homemade sauce!

It's been such a long cold spring that I thought I could start another set of tomato starts from seed. A good friend gave me a cute little packet of cherry tomato seeds.

I started by preparing the garden marker sticks.
All planted and ready to grow!

One week later and they're doing great! I probably should thin them out. :(
More tomato posts to come!